
If you’ve spent even five minutes researching heating and cooling options, you’ve probably asked yourself: how much is mini split installation going to cost me? You’re not alone — it’s the first question homeowners ask when they discover the flexibility and efficiency of ductless systems.
The short answer: the typical mini split installation price ranges from $2,000 to $14,500 across the United States, with most single‑zone jobs landing between $2,500 and $6,500. But the “right” number for your home depends on a handful of factors — the number of rooms you want to cool, the type of indoor unit you choose, your electrical setup, and even the time of year you schedule the work.
| Project Type | Typical Installed Cost |
|---|---|
| Single‑zone (one indoor unit) | $2,500 – $6,500 |
| Dual‑zone (two indoor units) | $5,000 – $9,000 |
| Multi‑zone (3‑4 indoor units) | $5,800 – $15,000+ |
| Whole‑home (5+ zones) | $10,000 – $14,500+ |
In the Philadelphia and Bucks County area, a single‑zone ductless system typically falls between $3,500 and $6,000, while multi‑zone setups run from $7,000 to $15,000+. That’s not a random guess — it’s based on the quotes we’ve prepared for real homes in places like Newtown, Doylestown, and Richboro.
This guide breaks down exactly what drives that price, where your money goes, and how to get the most value — whether you’re adding a mini split to a single room or planning whole‑home comfort.
What Really Drives the Cost of a Mini Split Installation?
Every home is different, and no two mini split jobs carry the same final invoice. When we give a homeowner in Newtown or Bensalem a quote, we walk through the exact factors that move the needle — because understanding why the price is what it is helps you make a smarter decision, not just a cheaper one.
Here’s what determines how much a mini split installation costs, ordered from the biggest impact to the smallest.
1. Number of zones (single vs. multi‑zone)
This is the single largest price lever. A single‑zone system needs one indoor unit, one outdoor condenser, a short line set, and a few hours of labor. As soon as you add a second, third, or fifth indoor head, you’re paying for:
- More indoor units (each $400–$1,000 in equipment cost alone)
- A larger, more expensive multi‑port outdoor condenser
- Longer line sets, more refrigerant, and additional electrical connections
- Substantially more labor — running lines through multiple walls, ceilings, or attic spaces
In our experience across Bucks County, a single‑zone job might finish in half a day. A four‑zone whole‑home system easily spans two days with multiple technicians. That labor difference alone can push the total from $4,000 to $13,000+.
2. Indoor unit style: wall‑mounted, ceiling cassette, or concealed duct
The classic wall‑mounted head is the most affordable option — it mounts high on a wall, needs no ductwork, and installs quickly. High‑wall units typically add the least to your total.
Ceiling cassettes (recessed into the ceiling), floor‑standing units, and slim‑duct (concealed) models each increase equipment cost and labor significantly. A ceiling cassette requires cutting into drywall, framing support, and often a condensate pump — easily adding $500–$1,000 per unit compared to a standard wall unit. If aesthetics are important, the upgrade may be worth it, but it will show up on your estimate.
3. BTU capacity and proper sizing
A small 9,000 BTU system for a single bedroom costs far less than a 24,000 BTU unit for an open‑concept living area. But bigger isn’t better — oversizing causes short‑cycling, poor humidity control, and higher upfront cost. A thorough load calculation (Manual J) ensures you pay for exactly the capacity you need. When you see quotes with wildly different equipment sizes, one contractor may be guessing while another is sizing correctly. Guessing often means a higher price for a worse‑performing system.
4. Brand, efficiency rating, and technology features
Entry‑level ductless systems from brands like Gree or MrCool can keep the equipment cost low, while premium Japanese brands — Mitsubishi Electric, Daikin, Fujitsu — command a higher price but typically offer better cold‑climate performance, longer warranties, and more refined controls. Within any brand, moving from a basic 16 SEER2 unit to a 24+ SEER2 ENERGY STAR® cold‑climate heat pump adds to the equipment line item but can slash heating bills and may qualify for utility rebates or federal tax credits.
Wi‑Fi adapters, wired wall controllers, and advanced zoning logic also influence the final number. At Home Rangers, we typically recommend mid‑to‑high‑efficiency Hyper Heat models for Pennsylvania winters because the extra upfront cost usually pays back within a few seasons.
5. Electrical infrastructure: new circuits, disconnects, and panel upgrades
Every mini split needs a dedicated circuit from your electrical panel. The simplest scenario — a panel with empty slots, a short wire run, and an outdoor disconnect — adds modest electrical cost. But if your panel is full, out of code, or rated below 200 amps, you may need a sub‑panel or a full service upgrade. These additional electrical jobs can add $1,500–$4,000+ to the project and are non‑optional for safety and code compliance. We always flag this during the initial walkthrough so there are no surprises on installation day.
6. Installation complexity and accessibility
Labor makes up 40–60% of most mini split quotes. A straightforward first‑floor install on an exterior wall is fast. Things that increase labor time — and therefore cost — include:
- Running line sets through finished ceilings, bulkheads, or multiple interior walls
- Condensate drainage that requires a pump instead of gravity flow
- Outdoor unit placement on a roof, balcony, or far from the indoor head (extra line set and refrigerant)
- Older homes with plaster walls, stone exterior, or limited attic access — common in our service area like Yardley and Washington Crossing
- Snow‑stand or wall‑bracket mounting where a ground pad won’t work
A job that takes four hours on new construction might take eight in a 200‑year‑old Bucks County farmhouse. That labor reality shows up honestly in the quote.
7. Permits, codes, and the time of year
Most municipalities in the Philadelphia suburbs require an electrical and mechanical permit for mini split installations. Permit fees are usually modest ($100–$300), but they ensure the work is inspected and safe. A contractor who skips permits to offer a lower price is cutting a corner that can cost you at resale or if something goes wrong.
Seasonal demand matters, too. Spring and early summer are peak HVAC installation months; booking in late fall or early spring can sometimes get you more flexible scheduling and, with some companies, off‑peak pricing. However, don’t expect a 50% discount — solid labor isn’t a commodity, and a skilled crew’s time has consistent value year‑round.
Don’t leave your mini‑split installation cost to guesswork. Online calculators are a great starting point, but they can’t see your home’s layout, electrical panel, or exact zone requirements. At Call Home Rangers, we provide a free, no‑obligation in‑home assessment with a transparent, line‑by‑line installation quote. We’ll verify every detail — from the right BTU sizing to the best outdoor unit placement — and catch anything you might have overlooked, before you spend a dime.
Mini Split vs. Alternatives: Where Does the Real Value Lie?
When you’re looking at a multi‑thousand‑dollar comfort upgrade, it’s only fair to ask: is a ductless system actually the most cost‑effective path, or would I be better off with a different type of heating and cooling? Below, we stack mini splits against the most common alternatives — comparing not just first cost, but what you’ll pay over the life of the equipment.
| System Type | Installed Cost (Typical) | Heating & Cooling? | Best For |
|---|---|---|---|
| Ductless mini split (single‑zone) | $2,500 – $6,500 | Both (heat pump) | Room additions, sunrooms, homes without ducts |
| Ductless mini split (whole‑home, 4+ zones) | $10,000 – $14,500+ | Both (heat pump) | Older homes, baseboard‑heated houses |
| Central AC + furnace (new ductwork) | $12,000 – $18,000+ | Cooling + gas heat | New construction or major gut renovation |
| Central AC only (existing ductwork) | $3,800 – $7,500 | Cooling only | Homes that already have forced‑air ducts |
| Window / through‑wall AC units | $200 – $800 per room | Cooling only (some heat) | Rental units, temporary solutions |
| Electric baseboard / space heaters | $500 – $2,500 per room | Heating only | Small spaces where cooling isn’t required |
When a mini split wins — hands down
- You don’t have ductwork. Adding ducts to an existing home is invasive, expensive, and steals closet space. Ductless systems bypass that entirely — a 3‑inch hole in the wall is all that’s needed.
- You need both heating and cooling. A modern cold‑climate heat pump delivers efficient heat down to -13°F or lower, eliminating the need for a separate furnace. In Bucks County, that means one system handles shoulder‑season chill and summer humidity without burning gas or oil.
- You want room‑by‑room control. With a multi‑zone mini split, you can keep the master bedroom at 68°F while the guest room stays at 74°F — no more cooling (or heating) empty spaces.
- Your project is an addition, garage conversion, or finished basement. Extending existing ductwork is often impossible or prohibitively expensive. A single‑zone mini split gives those spaces true year‑round comfort for a fraction of the cost of a full ducted system.
When another option might make more sense
- Your home already has well‑sealed, properly sized ductwork. If you’re simply replacing an aging central air conditioner and your ducts are in good shape, a new central AC unit is usually the lowest‑cost path — but you’ll miss out on the zoning and efficiency gains a ductless heat pump can provide.
- You have a strict, short‑term budget and cool only one room. A window unit costs a few hundred dollars upfront, but it will cost significantly more to operate, blocks your window, and provides no heat. It’s a band‑aid, not a long‑term investment.
- You heat with natural gas and your primary concern is upfront cost. If you’re committed to gas heat and only need cooling, a central AC add‑on (if ducts exist) or a few through‑wall units may appear cheaper on day one. But with Pennsylvania electric rates, a high‑efficiency heat pump can still beat gas on operating cost in the milder months, so don’t ignore long‑term math.
For most homes we visit in Montgomery and Bucks counties — especially ranches, Capes, older colonials, and finished basements — a ductless mini split emerges as the clear sweet spot between installation cost, monthly energy bills, and year‑round comfort. And when paired with available rebates, it often closes whatever gap remains.
Next, we’ll dive into exactly how to save money on your mini split installation without cutting corners that come back to bite you.
How to Lower Your Mini Split Installation Cost Without Cutting Corners
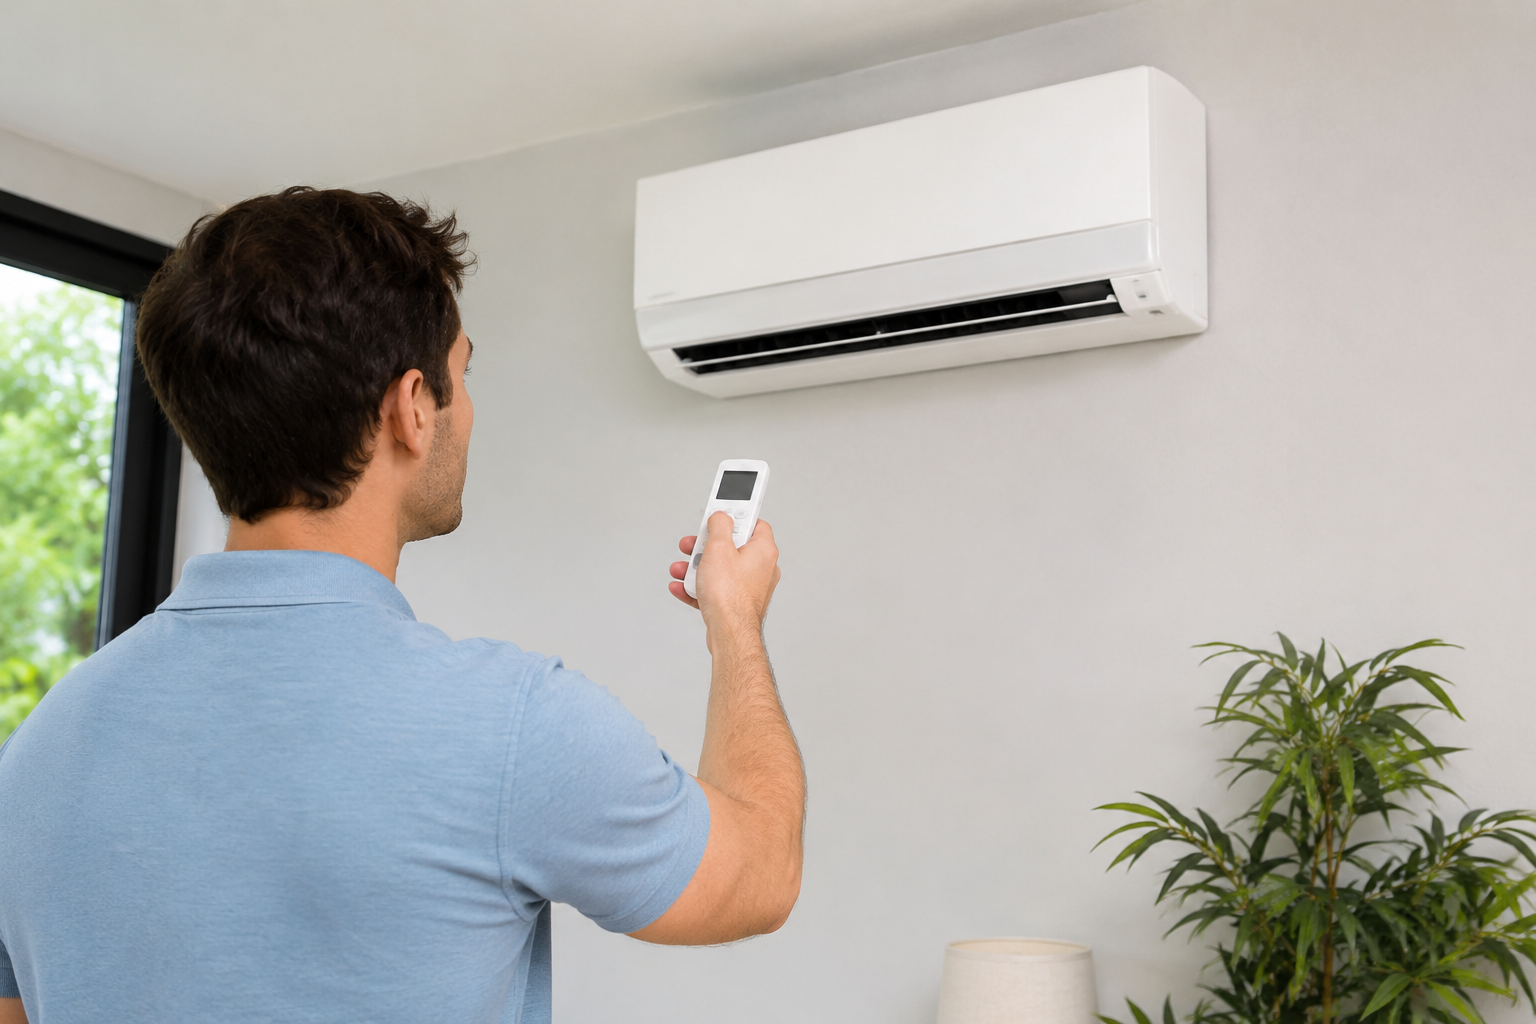
A mini split is one of the best long‑term investments you can make in your home comfort, but that doesn’t mean you should just accept the first quote you see. Over thousands of Bucks County jobs, we’ve found there are five legitimate ways to keep more money in your pocket — without sacrificing the quality, efficiency, or safety of your system.
1. Maximize federal tax credits and utility rebates
Right now, the Energy Efficient Home Improvement Credit (25C) lets you claim 30% of the project cost — up to $2,000 per year — when you install a qualifying ENERGY STAR® ductless heat pump. This isn’t a deduction from taxable income; it’s a dollar‑for‑dollar credit against what you owe the IRS. A $6,000 installation nets you a $1,800 credit. An $8,000 system hits the $2,000 cap.
And before you assume your mini split won’t qualify, most cold‑climate heat pumps from Mitsubishi, Daikin, and Fujitsu do — but you must meet specific efficiency tiers (typically SEER2 ≥ 16, EER2 ≥ 12, and HSPF2 ≥ 9). Our Home Rangers team flags eligible equipment on every quote so you can file with confidence.
On top of that, utility rebates from PECO, Met‑Ed, and PPL Electric can cut another $300–$800 per outdoor unit in instant or mail‑in savings. These rebates often stack with the federal credit, and we handle the paperwork for you.
2. Right‑size your system — don’t oversize it
Bigger is not better when it comes to heat pumps. An oversized unit costs more upfront, short‑cycles (turning on and off too frequently), struggles with humidity control, and can actually wear out faster. A properly sized system based on a Manual J load calculation — not a “rule of thumb” — ensures you pay for exactly the capacity your home needs. That might mean a 12,000 BTU unit where a guesser would quote 18,000 BTU. You pocket the difference in equipment cost and enjoy better comfort.
3. Keep the outdoor unit as close as practical
Every extra foot of line set, every bend around an obstacle, every need for a condensate pump adds material and labor. When we walk your property, we look for the shortest, cleanest route from outdoor condenser to indoor head. Placing the condenser on the same exterior wall as the indoor unit can trim hours off the install — and you see that in the final price. In a split‑level or colonial, going up into the attic or across the house adds time; it’s not always avoidable, but it’s worth discussing up front.
4. Bundle multiple zones into one system (when you can)
If you need two or three indoor heads, one multi‑port outdoor condenser is almost always more cost‑effective than three separate single‑zone systems. You save on outdoor units, electrical circuits, and equipment pads — plus future maintenance. There’s a limit: a single 36,000 or 48,000 BTU outdoor unit with four heads can be more expensive than two smaller systems in some floor plans. We’ll model both options so you can compare.
5. Schedule during the “shoulder season”
Spring and fall are often slower for HVAC companies. Scheduling your installation in late March, April, or October may get you faster service, more flexible scheduling, and — with some companies — lower seasonal pricing. You’re also not stuck waiting in a July heat wave when lead times stretch two or three weeks.
6. Pay once for quality, not twice for repairs
The biggest cost trap isn’t a high quote — it’s an unrealistically low one. A mini split system requires a deep vacuum pulled to below 500 microns, a pressure test with dry nitrogen, a flare connection made with a torque wrench, and precise refrigerant charge adjustments. Skipping any of these steps leads to premature compressor failure, refrigerant leaks, and poor efficiency. We routinely fix jobs that other companies started — and the “cheap” price ends up as an expensive redo. A fair, transparent quote from a NATE‑certified or factory‑authorized installer will always be the best financial move over the life of the equipment.
Still unsure? We’ll help you decide — honestly.
At Call Home Rangers, we never upsell you on equipment you don’t need. If a single-zone mini split is all that’s required, we won’t push a whole‑home system. We’ll assess your space, answer all your cost questions, and recommend the setup that gives you the best comfort for your budget — no pressure, just straight answers.
What’s Included in a Professional Mini Split Installation: A Complete Job Checklist
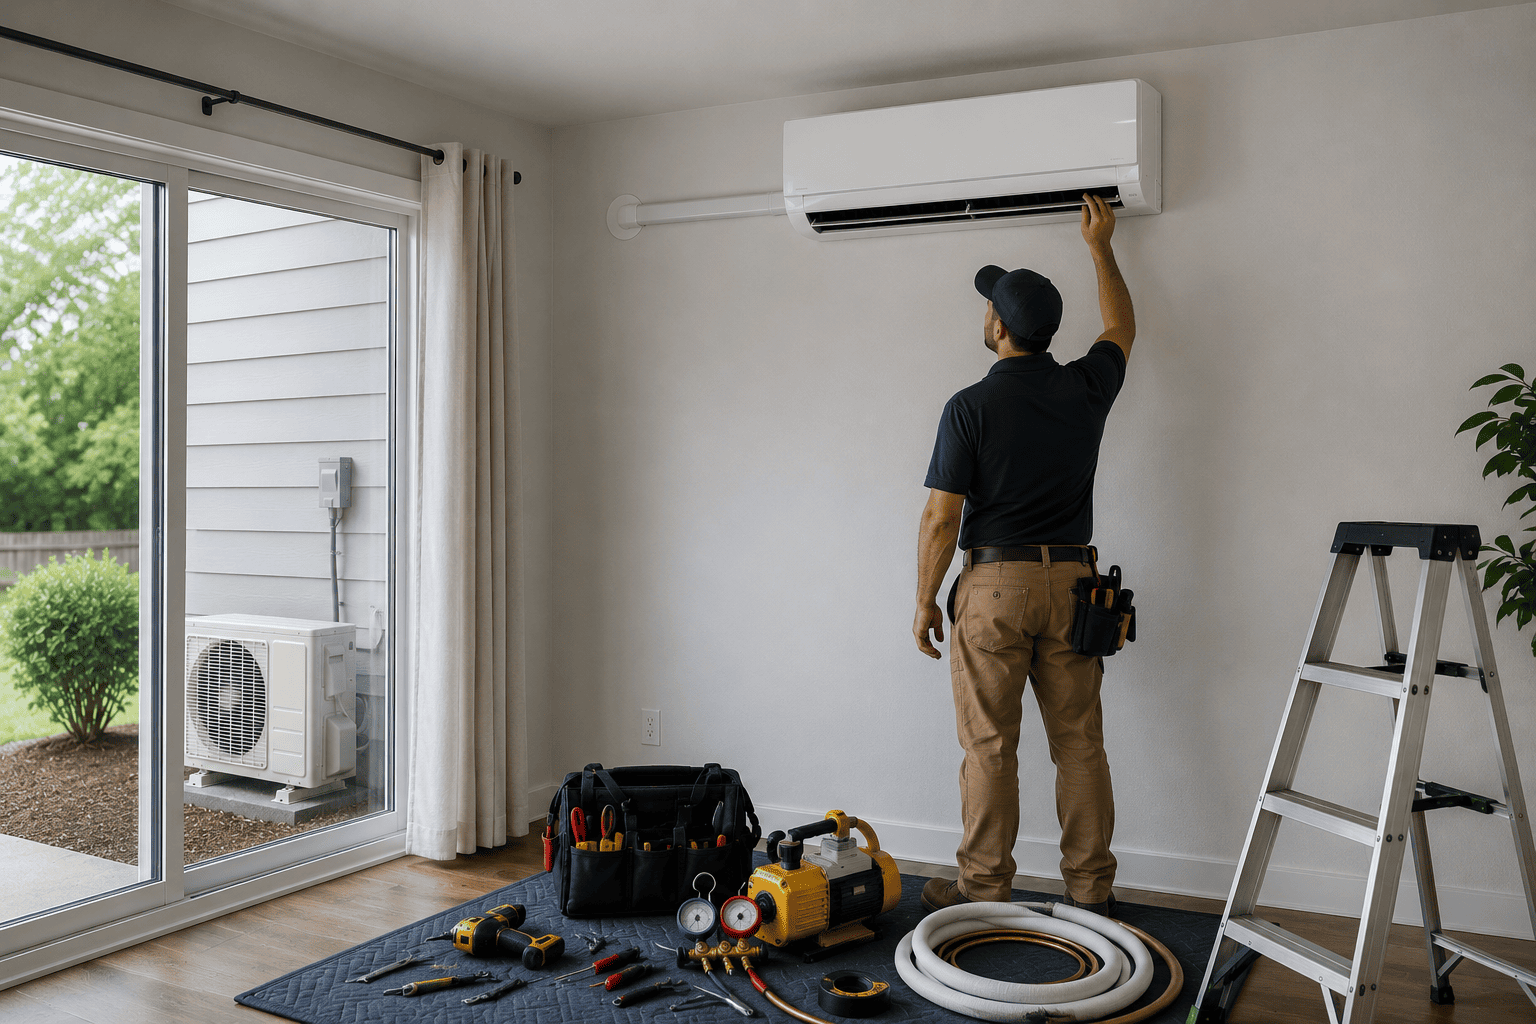
A ductless mini split is only as good as the installation. The equipment itself can be top‑tier, but if it’s rushed, improperly flared, under‑vacuumed, or mounted on an unstable surface, you’ll end up with noisy operation, refrigerant leaks, and a unit that struggles to hit its rated efficiency. Here’s exactly what a proper, code‑compliant installation should include — and what we deliver on every Home Rangers job.
Pre‑installation: planning and load calculation
- Manual J load calculation: A room‑by‑room analysis of your home’s heating and cooling needs based on square footage, insulation, window orientation, and air leakage. No “rule of thumb” sizing.
- Equipment compatibility check: Confirm the indoor and outdoor units are matched per AHRI standards (required for rebates and tax credits).
- Electrical panel assessment: Verify that your panel has available capacity and that the proposed circuit meets code. If an upgrade is needed, it’s priced and scheduled before the equipment goes in.
- Route mapping: Determine the shortest, least intrusive path for the line set, drain line, and communication cable — respecting wall studs, fire blocks, and finished surfaces.
Installation day: the essential steps
- Mounting the outdoor condenser: Placed on a level composite pad, wall bracket, or raised snow stand — never directly on soil. At least 12 inches of clearance on all sides for airflow. In our area, elevation above the snow line (typically 18–24 inches) is critical.
- Mounting the indoor head: High‑wall units are secured to a stud with a metal mounting plate. Ceiling cassettes get proper framing support. A slight pitch toward the drain side is set to prevent water pooling.
- Drilling the wall penetration: A 3‑ to 3.5‑inch hole saw cuts cleanly through siding, sheathing, and drywall. A protective sleeve is inserted, and the hole is sealed with UV‑resistant silicone or duct seal on both sides to stop drafts, moisture, and insects.
- Running the line set and drain: Refrigerant lines are cut to exact length — no excessive coiling. Insulated suction line prevents sweating and efficiency loss. The condensate drain is routed with a continuous downward slope (or paired with a properly mounted pump if gravity won’t work).
- Flaring and connections: This is the make‑or‑break moment. We use an eccentric flaring tool and a digital torque wrench to create factory‑perfect 45° flares tightened to the manufacturer’s spec. Hand‑tight estimates or generic wrenches are the #1 cause of slow refrigerant leaks.
- Pressure test with dry nitrogen: The system is pressurized to 500+ PSI with dry nitrogen and held. We watch the gauge for at least 15 minutes — no pressure drop means no leaks. Soap bubbles alone are not enough.
- Deep vacuum: A two‑stage vacuum pump pulls the lines and indoor coil below 500 microns. We hold that vacuum to boil off moisture and confirm there are no micro‑leaks. Skipping this step leaves moisture in the system, which creates acid and kills compressors over time.
- Refrigerant charge adjustment: Pre‑charged condensers cover a specific line set length. Longer runs require adding refrigerant by weight (using a digital scale). We dial in the subcooling to match the manufacturer’s charging chart.
- Electrical connections: A dedicated circuit from the panel to an outdoor disconnect box. Correctly sized breaker and wire gauge per NEC. Communication wire (14/4 stranded, shielded) is run separately from high‑voltage lines to prevent signal interference.
- Startup and commissioning: The system is powered on, and we verify blower operation, damper movement, temperature split across the coil, and proper condensate drainage. We let it run through a full heating and cooling cycle before we pack up.
- Cleanup and walkthrough: All debris, old parts, and packaging leave with us. We’ll hand you the remote, explain scheduling and modes, and show you how to clean the washable filters. You’ll also get a digital copy of the commissioning report for your records and warranty registration.
What a low‑bid “install” often leaves out
If a quote seems too good to be true, it usually skips one or more of these steps. Common shortcuts include: no load calculation (just matching the old system’s size), no torque wrench on flare nuts, no nitrogen pressure test, a 15‑minute vacuum cycle without a micron gauge, no disconnect switch near the outdoor unit, or no permits pulled. Any one of those can turn a “savings” into a $1,500 compressor replacement. When you compare quotes, ask each contractor to list their installation steps — the ones who can’t or won’t aren’t worth the risk.
Frequently Asked Questions About Mini Split Installation Costs
How much does it cost to install a mini split for a single room?
A single‑zone ductless mini split installation typically costs between $2,500 and $6,500 in the U.S., with most homeowners spending around $3,500–$5,000 for a straightforward wall‑mounted heat pump. In the Philadelphia suburbs, a single‑room job usually falls between $3,500 and $6,000, including equipment, labor, electrical work, and permits. The final price depends on the BTU capacity needed, how far the indoor unit is from the outdoor condenser, and whether your electrical panel has room for a new circuit.
Why do mini split installation quotes vary so much?
You’ll see quotes ranging from $2,000 to over $10,000 because every home is different. The biggest variables are: the number of indoor zones, the system’s BTU capacity and efficiency rating, the difficulty of running refrigerant lines and electrical wiring, and whether extra work like panel upgrades or condensate pumps is required. Companies that include a proper load calculation, permits, nitrogen pressure testing, and a micron‑gauge vacuum will naturally quote higher than those who skip these steps — but those steps are exactly what protect your system’s longevity and efficiency.
Can I install a mini split myself to save money?
While DIY mini split kits from brands like MrCool exist, the risks often outweigh the savings. A proper installation requires specialized tools (vacuum pump, micron gauge, torque wrench, nitrogen tank), knowledge of electrical codes, and EPA Section 608 certification to handle refrigerant. Incorrectly flared connections, moisture in the lines, or an improperly sized circuit can lead to refrigerant leaks, compressor failure, and potential safety hazards. Most manufacturers void the warranty on self‑installed systems. If you’re set on a DIY route, a pre‑charged line set kit reduces some risks, but you’ll still need electrical work permitted and inspected.
Are there tax credits or rebates for mini split installation in 2026?
Yes. The 25C federal tax credit covers 30% of the installed cost (up to $2,000 per year) for qualifying ENERGY STAR® ductless heat pumps. This credit is available through 2032. Many electric utilities — including PECO, PPL, and Met‑Ed in Pennsylvania — also offer rebates of $300–$800 per outdoor unit. A qualifying system can effectively reduce your net cost by $1,000–$2,500 when you stack both incentives. Your installer should provide the AHRI certificate and receipts needed to claim them.
How long does a mini split installation take?
A typical single‑zone installation takes 4 to 8 hours from arrival to final cleanup. Multi‑zone systems spanning two or three indoor heads often require a full day or a day and a half. If your job includes an electrical panel upgrade or extensive line‑set concealment (inside walls, through attics), the timeline extends accordingly. We always set realistic expectations after seeing your home — not before.
Do I need a permit for a mini split in Bucks County or Philadelphia suburbs?
Almost always, yes. Most townships in Bucks, Montgomery, and Philadelphia counties require both an electrical permit and a mechanical permit for mini split installations. The permit process ensures the work is inspected by a third party for safety and code compliance. A reputable contractor pulls permits on your behalf and schedules the inspection. Skipping permits might save $100–$300 upfront but can create headaches when selling your home or if an unpermitted installation leads to an insurance claim.
Your perfect Mini‑Split Installation is just one conversation away.
Join hundreds of homeowners who’ve switched to whisper‑quiet, room‑by‑room comfort — with clear, upfront pricing.
Or call us directly at (215) 454-0001